

How to wrap a jewellery gift professionally: 8 steps
The fastest professional method is to place your jewellery in a small rigid box, wrap it upside down so the seam sits underneath, crease every fold with a bone folder or spoon, and secure with double-sided tape. The result is a clean, flat visual plane with no visible tape and sharp corners — the hallmark of a gift that looks like it came from a boutique.
What you need:
- A rigid jewellery box or padded pouch
- High-weight wrapping paper (matte or textured)
- Sharp scissors or a craft knife
- Single- and double-sided tape
- Ribbon (satin, grosgrain, or wired)
- Tissue paper for lining
- A bone folder or the back of a spoon
Key takeaways
Wrapping jewellery professionally comes down to three things: a rigid internal box, tight paper with hidden tape, and proportionate ribbon with crisp creases.
| Point | Details |
|---|---|
| Use a rigid box | A firm internal box gives clean external lines and protects the piece during transit. |
| Measure and cut carefully | Allow 5–7 cm overlap on long sides; test-fit before cutting to avoid bulky corners. |
| Hide every seam | Double-sided tape pressed firmly along seams makes the wrap look professionally finished. |
| Match ribbon to box size | Use 3–6 mm ribbon for ring boxes, and wider ribbons for necklace boxes and sets. |
| Include a care card | A brief sterling silver care note adds perceived value and protects a hallmarked piece. |
Table of Contents
- What materials do you actually need to wrap jewellery professionally?
- How do you choose the right internal packaging for each jewellery type?
- How to wrap a small jewellery box like a professional: 8 steps
- Quick methods for chains, bracelets, and awkwardly shaped pieces
- Finishing touches that make a wrap look expensive
- Common wrapping mistakes and how to fix them
- Why including a care card matters when gifting silver in the UK
- Sources
What materials do you actually need to wrap jewellery professionally?
The difference between a tidy wrap and a professional one often comes down to paper weight. Thin, shiny paper creases unevenly and tears at corners. A heavier matte or textured paper holds its shape, giving you the crisp geometry that makes packaging look expensive. Kraft paper, handmade Japanese paper, and quality matte foil all work well. You can find them at Paperchase, Hobbycraft, or online at Not On The High Street.
For tape, keep two types to hand. Single-sided tape is fine for anchoring the first fold, but double-sided tape is what hides every seam. Press it firmly and the paper looks heat-sealed.
Optional upgrades worth having:
- A bone folder (around £5–£8 at most craft shops) for razor-sharp creases
- Wired ribbon, which holds a bow shape without collapsing in transit
- A wax seal and stamp for a personalised tag
- A small dried sprig (eucalyptus, lavender) tucked under the ribbon
Pro Tip: If you don’t own a bone folder, the back of a butter knife or a smooth spoon works almost as well. Run it firmly along each fold immediately after you make it.
How do you choose the right internal packaging for each jewellery type?
The box or pouch you put the jewellery into before wrapping shapes the entire presentation. A floppy parcel signals cheap; a rigid box signals care.
- Rings and stud earrings: A small hinged ring box or a two-piece earring box. The interior slot holds the piece securely and prevents movement during transit.
- Necklaces and chains: A flat rectangular box where the chain can lie without folding. Line it with anti-tarnish tissue paper to protect sterling silver from oxidation during storage.
- Bracelets: A slightly wider flat box or a padded bracelet roll. For a silver bracelet gift, a box with a foam insert keeps the piece centred and prevents scratching.
- Delicate chains: If you have no box, card the chain first. Tape one end to a small piece of stiff card, loop the chain neatly, and tape the other end. This prevents tangling and gives the wrapping a flat, manageable surface.
When rigid boxes aren’t available, a fabric furoshiki wrap or a drawstring pouch offers a sustainable alternative. Structural materials and tactile textures genuinely lift perceived value — a piece of jewellery in a silk pouch reads as considered rather than rushed.
How to wrap a small jewellery box like a professional: 8 steps
This sequence follows the pro wrapping technique used by gift specialists: upside-down placement, tight paper, hidden tape, and creased corners.
-
Prepare the box. Remove any price tags. Wipe the exterior clean. Line the interior with a folded sheet of tissue paper, tucking it neatly around the jewellery.
-
Cut your paper. Place the box upside down on the paper. You need roughly 5–7 cm of overlap on each long side and enough to cover the ends with a 2–3 cm margin. Cut cleanly with scissors or a craft knife against a ruler.
-
Orient the box upside down. This is the key move. The seam will sit on the base, which rests on a surface. Nobody sees it.
-
Make the first long fold. Pull one long side of the paper up and over the box. Crease the edge firmly with your bone folder. Apply a strip of double-sided tape along the top edge of this flap.
-
Bring the second long side up. Pull it taut — genuinely taut, not just snug — and press it onto the tape. Run the bone folder along the seam. The paper should feel drum-tight.
-
Fold the ends into wings. At each short end, press the top flap down first, then fold in the two side triangles to form neat diagonal wings. Crease every fold as you go. Fold the bottom flap up and secure with a small piece of double-sided tape hidden inside the fold.
-
Flip the box right-side up. The seam is now underneath. Check the top surface — it should be flat, with no bubbles or loose paper.
-
Add ribbon and finishing. See the next section for ribbon widths and bow technique.
Pro Tip: Before cutting, do a quick test-fit: wrap the paper loosely around the box and mark the cut line with a light pencil mark. Cutting too much paper is the single most common cause of bulky corners.
Quick methods for chains, bracelets, and awkwardly shaped pieces
Not every piece of jewellery arrives in a neat box. Here are the fastest fixes.
- Card method for chains and pendants: Tape one end of the chain to a piece of stiff card, loop it flat, and tape the other end. Wrap the card in tissue, fold into a small packet, and seal with a sticker or wax seal. Clean, tangle-free, and takes under two minutes.
- Layered tissue pouch for earrings: Fold a sheet of tissue into thirds, place the earrings in the centre, fold again, and tuck into a small organza or velvet pouch. The tissue prevents the posts from snagging the fabric.
- Mini envelope fold for flat items: Fold a square of paper diagonally, place the item in the centre, and fold the corners inward like a gift card envelope. Seal with a wax stamp.
- Fabric furoshiki wrap: A 50 cm square of fabric wraps most small boxes. Tie two opposite corners over the top into a knot. Reusable, zero waste, and genuinely elegant.
When perceived value matters — a significant birthday, an anniversary, a hallmarked silver piece — a rigid box is worth the extra effort. It holds its shape in a bag, survives postal transit, and signals that the gift inside is worth protecting.
Finishing touches that make a wrap look expensive
Ribbon width is where most people get the proportion wrong. A wide ribbon on a ring box looks clumsy; a thin ribbon on a large set box disappears. Recommended widths by box size are:
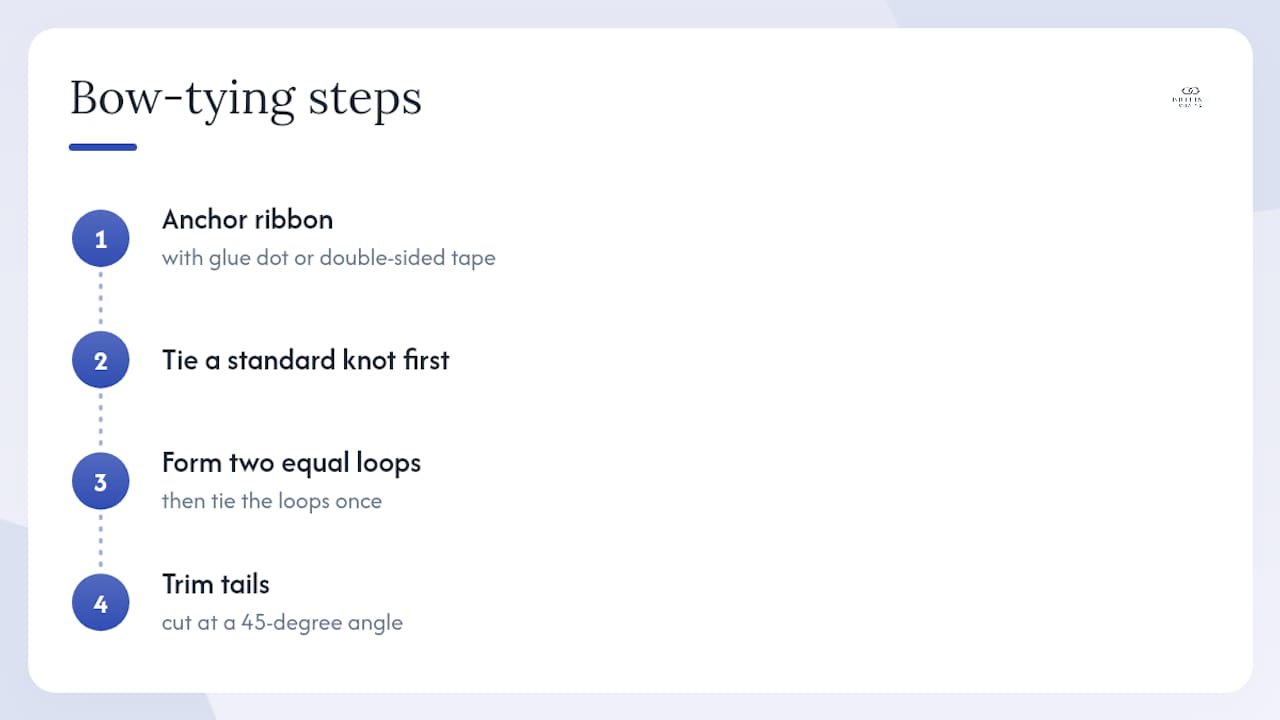
For the bow, tie a standard knot first, then form two equal loops and tie them once. Trim the tails at a 45-degree angle. Wired ribbon holds the loops upright; satin lays flat and suits a more minimal look.
Layering textures adds depth without clutter: matte kraft paper with waxed twine, or white tissue with a narrow silk ribbon. Keep embellishment to one or two elements. A dried sprig tucked under the ribbon travels safely and adds a natural accent. A small folded tag with the recipient’s name, written by hand, costs nothing and is remembered.
Pro Tip: Anchor the ribbon with a small glue dot or a piece of double-sided tape on the underside of the knot before tying the bow. It stops the whole thing sliding sideways when the box is picked up.
Common wrapping mistakes and how to fix them
- Too much paper, bulging corners: Trim 2–3 cm from each end before re-folding. Excess paper is the root cause of almost every messy corner.
- Visible shiny tape: Replace with double-sided tape and press the seam firmly. If you’ve already used single-sided tape, cover it with a narrow strip of ribbon or a sticker.
- Loose or lopsided bow: Anchor the knot with a glue dot underneath before forming the loops. A lopsided bow usually means the two loops were pulled at different tensions.
- Crinkled or torn paper: For a small tear on the underside, patch it with a matching scrap and double-sided tape. For a tear on the top surface, rewrap the top half only if you have enough paper left; otherwise, place a botanical accent or tag directly over the damage.
Why including a care card matters when gifting silver in the UK
A hallmarked sterling silver piece carries a legal quality guarantee under UK assay office standards, and a brief note inside the box tells the recipient exactly what they have. A simple care card might read: “Sterling silver 925 — store in a dry, airtight pouch, clean with a soft cloth, and avoid contact with perfume or chlorine.”
That one sentence increases perceived value and prevents the most common cause of tarnish. Britishchains publishes a full jewellery care guide you can reference when writing your own card, and their gifting etiquette guide covers UK hallmarking conventions in more detail.
Why the wrap matters as much as what’s inside
Presentation is not decoration. The moment someone picks up a gift, the weight, the tightness of the paper, and the neatness of the ribbon all communicate something about the thought behind it. A polished wrap tells the recipient the gift was chosen carefully — before they’ve even opened it.
If you want to go further, a reusable fabric wrap or a quality pouch doubles as part of the gift itself. It’s a small choice with a lasting impression.
Sources
- How to Wrap Gifts the Right Way, According to a Pro — Martha Stewart
- The architecture of elegant gift wrapping: elevating presentation into an art form - Parker Street Market
- 7 Jewelry Gift Ribbons for Decorative Packaging
Visual learners: a short video walkthrough of steps 3–6 above is worth watching before your first attempt. Search “professional gift wrapping small box” on YouTube for several clear demonstrations.


